Friday, May 11, 2012

Up, up, and away!

Quick picture update from our progress last night: more upper cabinets!!
An addition to the large cabinet seen in the post yesterday. It should look good with a pair of doors, don't you think? All the cabinets will get another coat of paint before I'll be totally happy with them, but for now I think they look just fine! :)
All of them, actually. All that’s left now is the hood over the range, but that’s a project for another day. 
These are the upper cabinets on either side of the range hood that doesn't yet exist. The cabinet on the left has shelves that are set back a few inches to accomodate a spice rack that hangs on the inside of the door.  
As you can see, I really don’t have that many cabinets, but we had to find the wiring we left wound up in the wall for the under cabinet lighting. So between that and the fact the neither my dad nor myself had hung cabinets, I think we made pretty good progress in an hour and a half J
I didn't get a picture of the cabinet hanging in the other corner over the hypothetical dishwasher, but once you've seen one, you've seen them all. The backsplash area behind the stove will be covered with a piece of stainless steel, and I'll wrap the stove-sides of the upper cabinets with it, too. Should be pretty snazzy!
This weekend is a busy one – I’ll be volunteering Saturday morning for a large, community-wide service project, and there’s a graduation party for a family friend that night..so my guess is there won’t be a lot of base cabinet setting happening that day. Tonight and Sunday might be productive, though…I guess we’ll all just have to wait and see!

Thursday, May 10, 2012

Next door...

As you can see, it’s been a busy day for updates! Strike while the iron’s hot, I suppose..
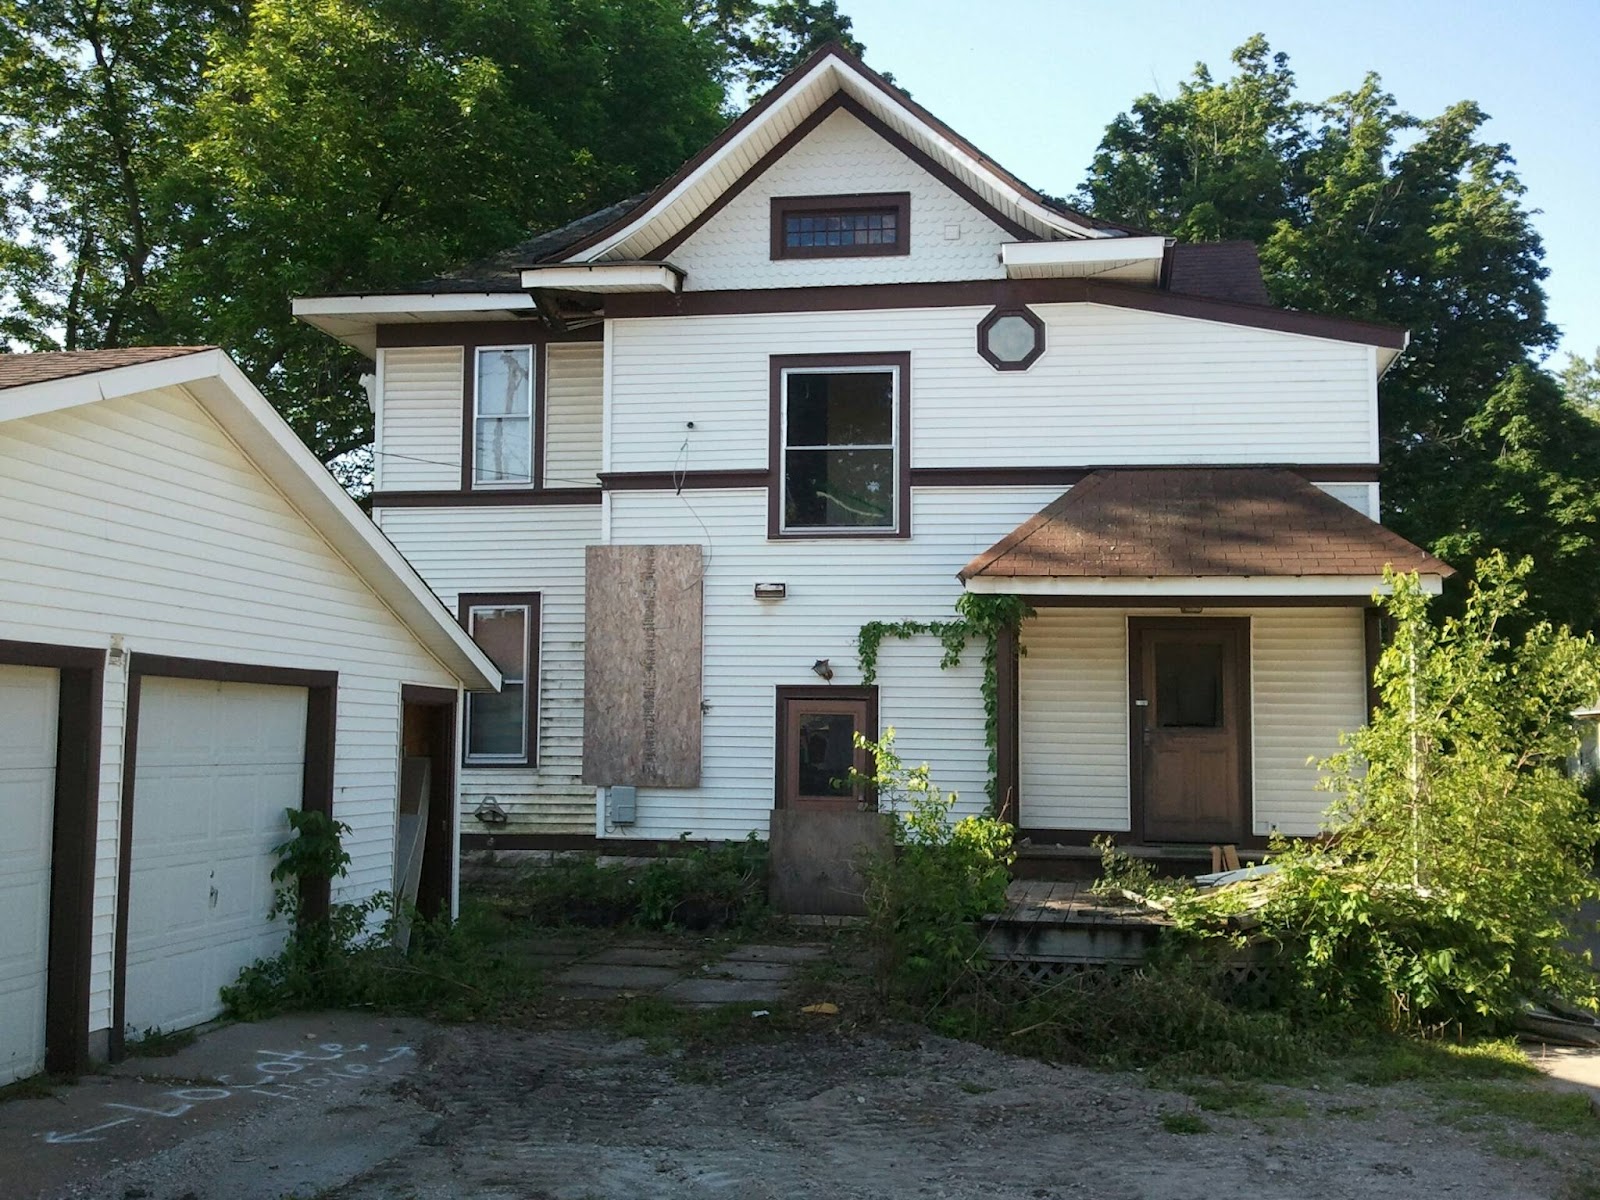
As I’ve written about from time to time throughout this blog, the house next door is slated for demolition. Well, I think we’ve finally arrived at demolition time.
Over the course of the last week, there has been a small crew in and out of the house removing furniture and other items left behind as well as really combing through the building – they’ve removed the old appliances and mechanical systems as well as a pretty good sized pile of copper pipe for scrapping. Last I spoke with them, they had hoped to get started sometime around…today, but they did have a few other contracts to satisfy.
This is kind of bittersweet for me as it is for many in the neighborhood and around town. Everyone I talk to seems to share the same sentiment – they wish it could be saved, they love the architecture and the history of the house, but it has just sat empty and exposed for too long. It’s really gone downhill in the last few years, and, sadly, it’s just time for it to go.
Before my walk to work this morning, I made one last loop around the house with my phone to record what it is before it’s taken down. I also found an old picture of the house from its glory days – hope you enjoy.
Rear of the house - from the alley.
NW corner - from my driveway.

SW corner - from my driveway.

SE corner - same perspective as the old picture below.

NE corner - behind the garage.

SE corner - found in a book about Knoxville history, no less!

CABINETS!

So, you’ve seen pictures of the cabinets during assembly out in the garage… how about one up on the wall?
That's a bad mamma jamma-sized cabinet.
Yep, last night was a pretty big night in my kitchen. No food was made, but I learned how to hang a cabinet and prep for the under-cabinet lighting I bought at IKEA a while back. More on lighting to come.
I’ll admit, I haven’t been terrific about taking pictures of the cabinets throughout the process. I blame this on the fact that their construction goes pretty quickly and I don’t have many opportunities to take pictures. That said, I will have plenty of updates as we hang more of the upper cabinets tonight.
I'm keeping the same basic layout (the new sink will be centered on the windows, though). Notice the older upper cabinets didn't reach all the way to the ceiling; I hope the taller uppers will look more in keeping with the age of the house, while providing more storage.

Pre-hanging. You can kind of see the paneling on the exposed side of the cabinet - this is something I've seen in magazines for the last couple years. It looks older, but also a little more "custom." Hopefully it will look like someone built these by hand...in a GOOD way!
 On my lunch break, I went out looking for countertop-making supplies. My boss – the same guy that tought me how to lay tile – has made concrete countertops before, and I’ve wanted to learn for quite a while. In the next few days/weeks, I hope to be building forms and working through that process, so stick around and learn with us!

How to make a door.. for livestock.

One “little” project we’ve been working on over the last few weeks has been the office/second bedroom door. I say “little” project because – for quite a while – that’s how I felt about it. Meh, it’s just a door…we’ll crank that out in no time.
Not true.
The planning aspect of it took quite a bit longer than I had anticipated. Truthfully, I had no idea what I wanted to do with it, so how do you plan for that? After thinking about it and doing some research online over the course of several months, I came to the conclusion that I’d like to build a barn door. Not only because I liked the look, but because it was going to be quite a bit easier and a whole lot cheaper than custom building an arched door to hang on a jamb inside the opening.
This is the opening we were dealing with - leading from the office/second bedroom to the living room.
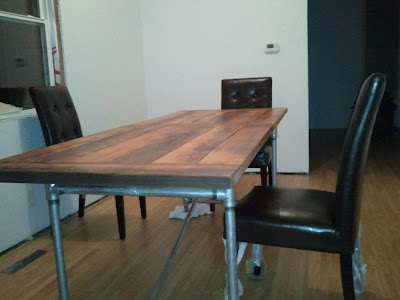
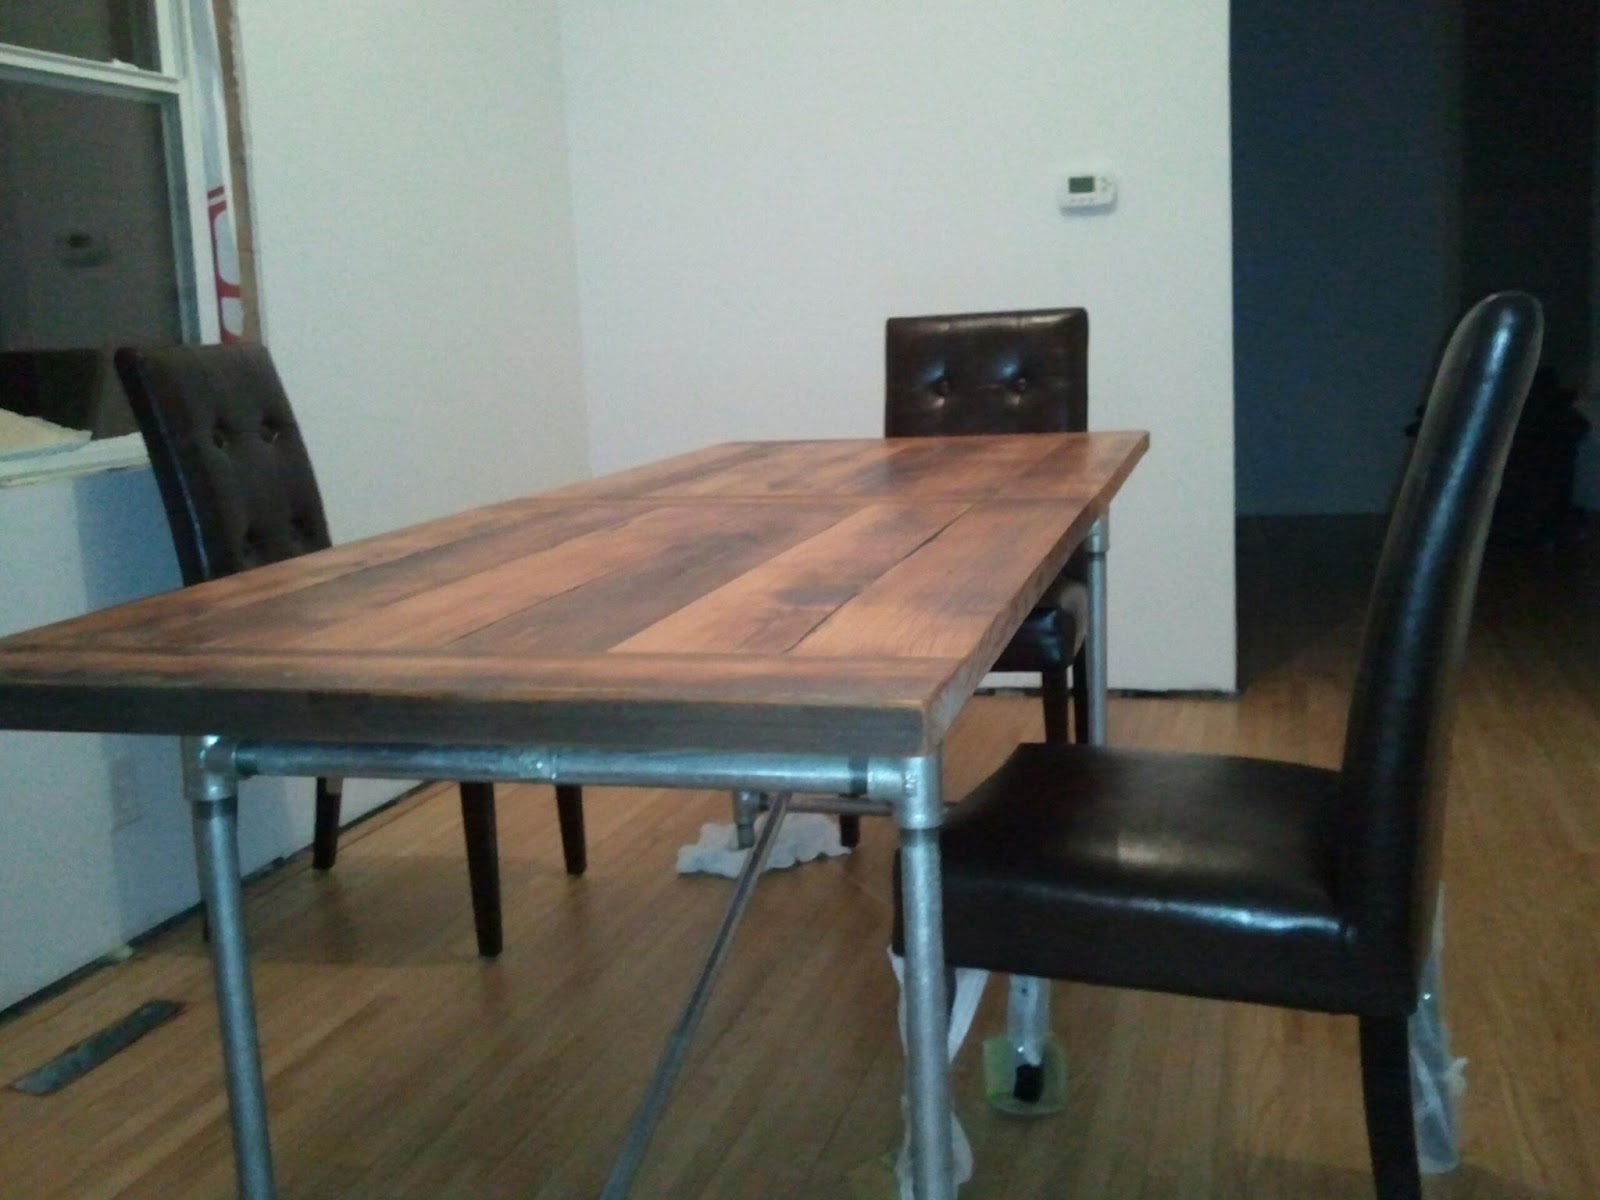
The story of this door actually goes back to tearing down the old garage. Throughout the process of that demolition, we either found or salvaged quite a bit of old wood with lots of character. Some of it went into building my dining room table, some was used for smaller projects, and much of the remainder went into building this door.
Remember this old girl?
Some of the 2" x 6" boards went into my table
I think it's pretty safe to say I wouldn't be able to afford to buy wood with this much character, nor would I feel comfortable working with it ("What if I screw up!?). Not only that, but this was also headed to the landfill - I saved all kinds of money (buying a new table or wood to build a new table, dumping fees, etc.) and we recycled something beautiful.  
The process of building the table was almost exactly the same as building the door; first, we had to prepare the lumber by getting rid of all the old nails, screws, etc. and planing it down using a portable planer borrowed from a friend. We planed all the wood down until it was all approximately the same thickness, and then arranged it to make it look good. From there, we clamped the loose boards together so we could make a mark horizontally across the body of the door every six inches – this mark indicated where we would later cut and glue our biscuits.
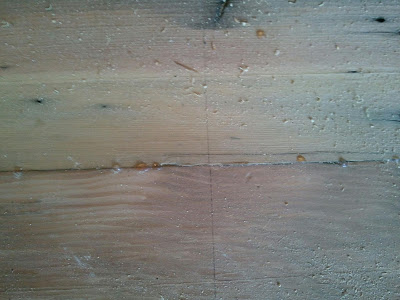
See our lines?
This was my first experience actually using a biscuit joiner…super easy. Very straightforward, and the joint you’re left with is incredibly strong without any outward signs of joinery like you’d have with pocket screws or something like that.
http://www.youtube.com/watch?v=_Jl-PjJY14U - video explaining how to use a biscuit joiner.
After cutting all the slots to receive the biscuits, we started gluing all the boards together and clamping them in place using a series of pipe clamps and hand clamps to keep everything tight together, square, and true. This process lasted a handful of days because we felt it was better for the structure of the door to be added to once one segment had set up and was sturdy and stable in its own right.
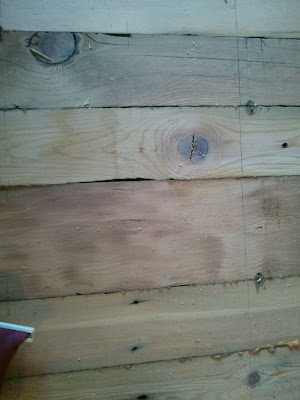
Lined up, clamped together, glue squirting out everywhere.
Once that was complete, I skil-sawed off the top and bottom edges to clean those up, biscuited the boards across the top and bottom, and pipe clamped everything together length-wise.
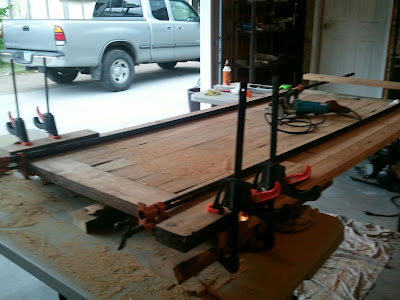
Clamped every which way. I used the smaller hand clamps to keep the top and bottom rails in line with the body of the door by sandwiching them between a pair of 2x4's and clamping them into submission.

Sand, sand, sand, sand, sand. Cleanup.
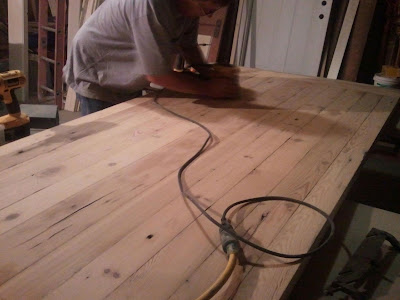
After scraping off the excess glue, we took turns sanding. Start with a coarse grit paper and work your way finer.
Then, we got to attach the hardware I bought at West End Architectural Salvage in Des Moines. This hardware is really nothing special or specific – it’s actually the hardware from an old pocket door, we just used it for a slightly different application. I will say one thing for this old hardware…you’re not going to break it. It’s as solid as the day it was made, and it still works great. There is a screw on each wheel housing that lets you level the door once it’s on the track and they both worked extremely well.
http://www.westendsalvage.com/ - coolest place ever.
The track was mounted on another piece of the old wood that I elected not to plane or sand. I cut the piece down to fit the rail, and then I ripped it down to ¾” thick so the door wouldn’t stand out too far from the wall. We lag-bolted the door to the studs in the wall (which we used my old pictures to find!) and screwed the rail to the board.
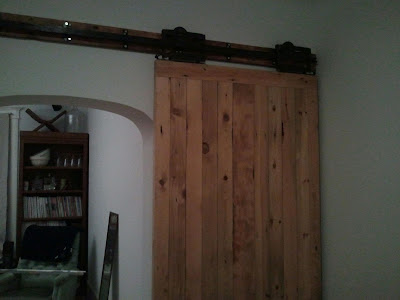
Looking good!

Check for level. Pray for sturdiness. Hang your door. Check for level some more. Roll it back and forth. Party.

Monday, April 23, 2012

High-Tech

Late last week, I got the call I’d been waiting for.
My mower had arrived J
The week before, I decided to do a little research. I was interested in looking for a mower, but I was especially curious about the older-style reel mowers. I figured, with the size of my yard, I would sweat more yanking the cord on a pull-start, gas powered mower than I would just pushing the reel mower around. Not to mention the reel mowers are cheaper upfront and less costly to operate since I wouldn’t be buying gas, oil, etc. or hiring a mechanic to service it should something go wrong. While I may have a working knowledge of home repair, I have no knowledge of mechanical repair.
Anyway, I visited a few stores here in town before making my way to Coast to Coast Hardware and talking to the owner there. She informed me that they didn’t stock them, but could order them in and had actually just done so for someone the week before.
I opted for the wider model..I think it’s 18”? The cost was $140, which I thought was plenty – I feel like I’ve seen them online for as little as $95, but this one was local and they even put it together before calling me to come pick it up J I also know I’ll be able to take it there if I’ve got a maintenance issue.

My baby after a job well done!
Everyone has put their two cents in on this purchase. Dad thinks I’m kind of nuts, my grandpa called it “cute.” I’ve also gotten all kinds of advice – be sure to keep your blades sharp; don’t let the grass get too long. I, literally, stumbled across my own piece of advice: pick up sticks and twigs before mowing. They will completely stop you in your tracks.
All told, it took me about 10 minutes to mow my yard (including a little tuft of grass along the alley) which is about the same as it had been with the self-propelled mower. This unit is so light, it’s not as hard as I had figured it might be, and I can have a conversation with someone other than myself while I mow!
I tried it on some of the longer grass next door and it still did a decent job. I’ve found it tends to skip over dandelions and things like that, though. The grill in the front just bends them over and the blades miss them entirely. I didn’t seem to have that problem in my yard, so I think it’s just a matter of staying on top of the grass and not letting it get out of hand.
Anyway, this is my latest purchase. I’m pretty proud of it, and I actually can’t wait to mow the yard again…which is NEVER the case J

Thursday, April 19, 2012

I set a trend! :)

I posted about my goat cheese this morning, and this afternoon the local radio station featured Lois! Listen in and learn about one of our local celebrities J

http://www.kniakrls.com/2012/04/in-depth-reicherts-dairy-air/

http://www.reichertsdairyair.com/

Goat Cheese, etc.

In getting my backyard vegetable garden together, I knew I wanted to mulch the area between the rows with something to keep the weeds down, but also something that would give me something to stand on so I wasn’t wallowing in the mud back there. I’ve seen lots of people do crushed stone or mulch, but I was hesitant to do that because 1. A lot of work, 2. A lot of money, 3. Seems like a pain to undo if I don’t want a garden in the future..or if my seedlings crap out and I’m stuck with nothing this year.
So I started contacting some of our local farmers looking for straw. Our area is really lucky to have a pretty vibrant artisan farm population. Many of these farms are operated by families and are either organic or at least less reliant on chemicals than the larger agribusiness operations. One such farmer is my friend Lois. Lois raises goats, feeds and milks each of them by hand, and turns their milk into nationally recognized, award-winning cheeses that she sells to restaurants and vendors around the country. It’s hard work, but she loves it..and the cheese is ridiculously good.
Anyway, Lois hooked me up with a few (too many) bales of oat straw which will work for my mulch and hopefully not drop a bunch of seed into the plots. As much as I’d like to sew my own oats…I’d actually rather not.
Greeeeeen Acres!
While I was there, I bought a couple ounces of chevre from her and planned to make a recipe I’d seen a year or more ago that I’ve always wanted to try: goat cheese and caramelized onion pizza.
I was not disappointed.
I had a leftover hunk of pizza dough in the freezer from earlier in the week, so I rolled that out after my onions had browned and become super tender and sweet. I added a little garlic, salt, and pepper to the onions for more flavor. I spread a basic béchamel (butter, flour, milk, salt, pepper, parmesan) over the crust, spread my onions over that, and crumbled the goat cheese over top of everything. I baked it at 420F until the toppings were melted and slightly brown and the crust sounded hollow when tapped.
The picture is a little blurry because I was in a hurry to eat the rest :)
So freaking good. My white sauce probably could’ve used more flavor, but otherwise this was way good. I thought later about adding a few leaves of thyme to the mix for next time. And there will be a next time! (If nothing else, I'll make the onions again. While the pizza baked, I was standing over the pan eating them by the spoonful. They were like candy!)
Last night was unproductive on the home front as I was called out to meet with a local guy about a fundraising project we’re working on. But I did have time to make a big batch of fettuccine for dinner (and lunch and dinner and lunch and dinner) with some asparagus I picked up at the grocery store. Not a bad day!
The pasta needed more Parmesan...but that's always the case :)