One “little” project we’ve been working on over the last few weeks has been the office/second bedroom door. I say “little” project because – for quite a while – that’s how I felt about it. Meh, it’s just a door…we’ll crank that out in no time.
Not true.
The planning aspect of it took quite a bit longer than I had anticipated. Truthfully, I had no idea what I wanted to do with it, so how do you plan for that? After thinking about it and doing some research online over the course of several months, I came to the conclusion that I’d like to build a barn door. Not only because I liked the look, but because it was going to be quite a bit easier and a whole lot cheaper than custom building an arched door to hang on a jamb inside the opening.
 |
| This is the opening we were dealing with - leading from the office/second bedroom to the living room. |
The story of this door actually goes back to tearing down the old garage. Throughout the process of that demolition, we either found or salvaged quite a bit of old wood with lots of character. Some of it went into building my dining room table, some was used for smaller projects, and much of the remainder went into building this door.
 |
| Remember this old girl? |
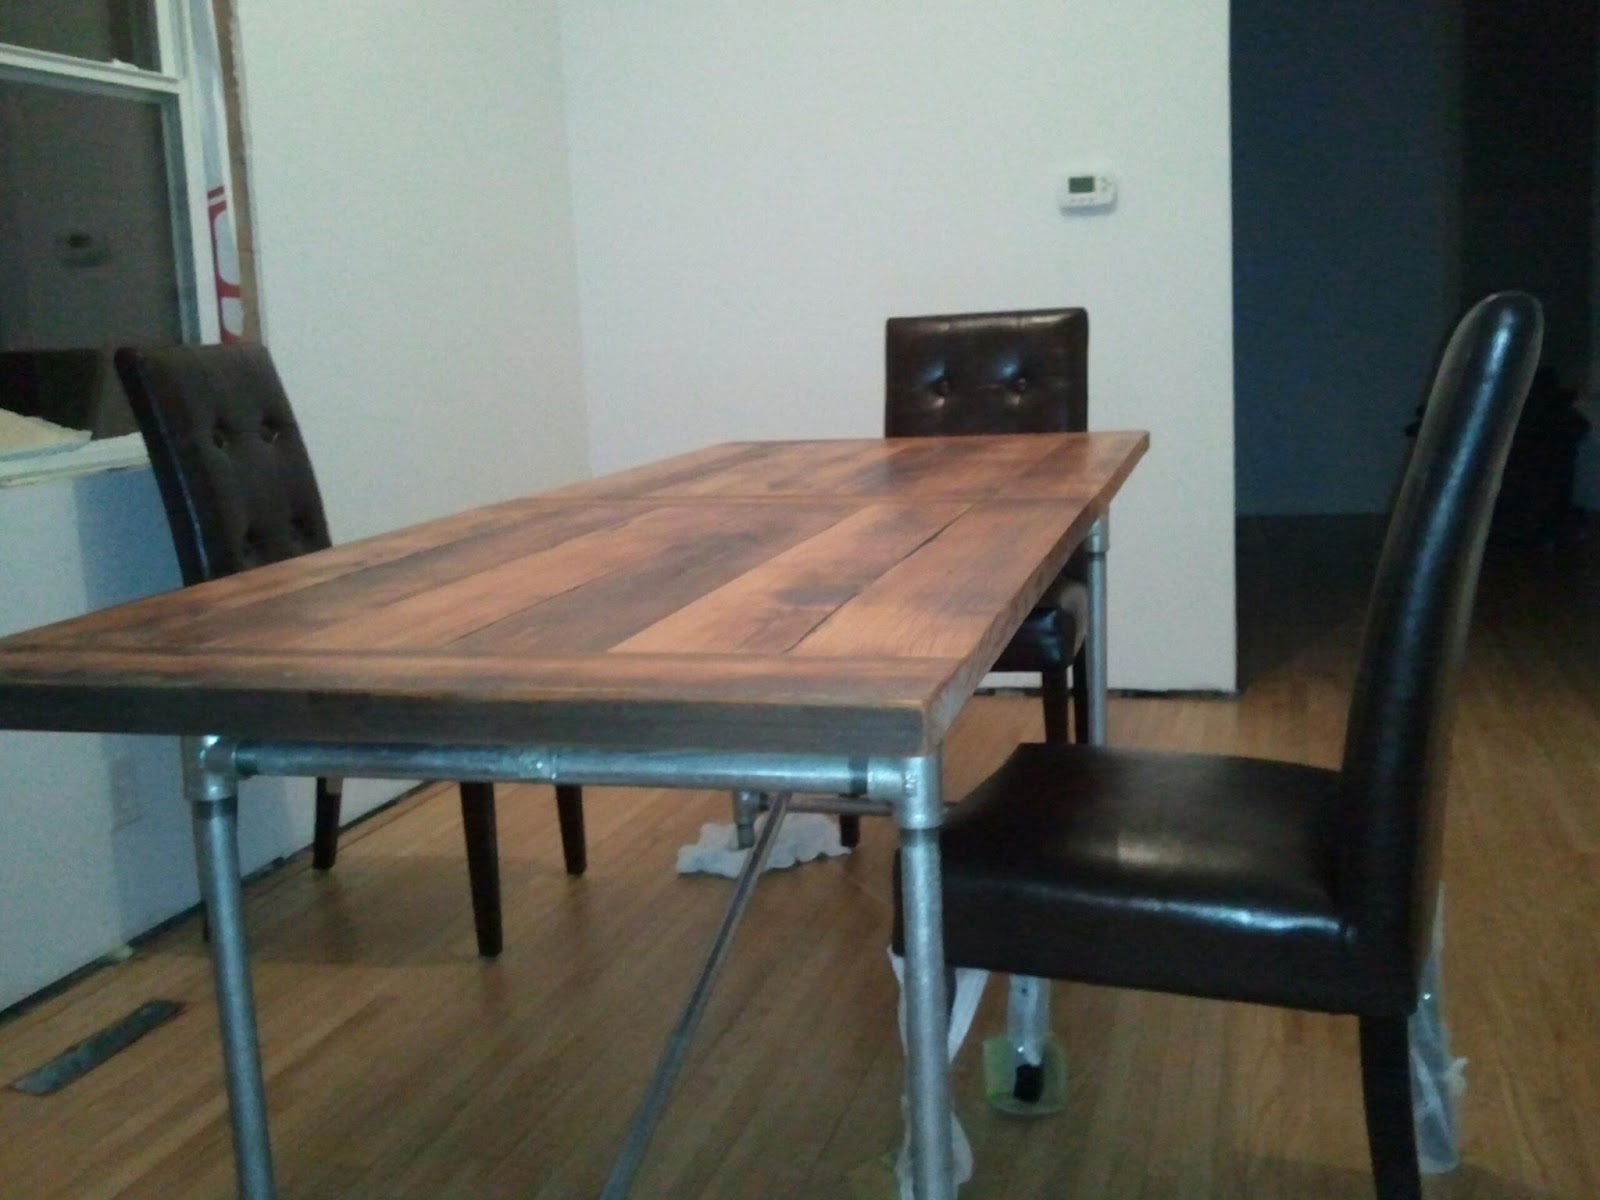 |
| Some of the 2" x 6" boards went into my table |
 |
| I think it's pretty safe to say I wouldn't be able to afford to buy wood with this much character, nor would I feel comfortable working with it ("What if I screw up!?). Not only that, but this was also headed to the landfill - I saved all kinds of money (buying a new table or wood to build a new table, dumping fees, etc.) and we recycled something beautiful. |
The process of building the table was almost exactly the same as building the door; first, we had to prepare the lumber by getting rid of all the old nails, screws, etc. and planing it down using a portable planer borrowed from a friend. We planed all the wood down until it was all approximately the same thickness, and then arranged it to make it look good. From there, we clamped the loose boards together so we could make a mark horizontally across the body of the door every six inches – this mark indicated where we would later cut and glue our biscuits.
 |
| See our lines? |
This was my first experience actually using a biscuit joiner…super easy. Very straightforward, and the joint you’re left with is incredibly strong without any outward signs of joinery like you’d have with pocket screws or something like that.
http://www.youtube.com/watch?v=_Jl-PjJY14U - video explaining how to use a biscuit joiner.
After cutting all the slots to receive the biscuits, we started gluing all the boards together and clamping them in place using a series of pipe clamps and hand clamps to keep everything tight together, square, and true. This process lasted a handful of days because we felt it was better for the structure of the door to be added to once one segment had set up and was sturdy and stable in its own right.
 |
| Lined up, clamped together, glue squirting out everywhere. |
 |
| Clamped every which way. I used the smaller hand clamps to keep the top and bottom rails in line with the body of the door by sandwiching them between a pair of 2x4's and clamping them into submission. |

Sand, sand, sand, sand, sand. Cleanup.
 |
| After scraping off the excess glue, we took turns sanding. Start with a coarse grit paper and work your way finer. |
Then, we got to attach the hardware I bought at West End Architectural Salvage in Des Moines. This hardware is really nothing special or specific – it’s actually the hardware from an old pocket door, we just used it for a slightly different application. I will say one thing for this old hardware…you’re not going to break it. It’s as solid as the day it was made, and it still works great. There is a screw on each wheel housing that lets you level the door once it’s on the track and they both worked extremely well.
http://www.westendsalvage.com/ - coolest place ever.
The track was mounted on another piece of the old wood that I elected not to plane or sand. I cut the piece down to fit the rail, and then I ripped it down to ¾” thick so the door wouldn’t stand out too far from the wall. We lag-bolted the door to the studs in the wall (which we used my old pictures to find!) and screwed the rail to the board.
 |
| Looking good! |

Check for level. Pray for sturdiness. Hang your door. Check for level some more. Roll it back and forth. Party.


