Showing posts with label exterior trim. Show all posts

Tuesday, November 13, 2012

Tying up loose ends

Well folks, the weather is turning colder and we’re running short on daylight most days after I get off work. That means we’re having to take better advantage of our weekends..before the snow starts flying!
Finished up some of the trim pieces around the bay window that hadn't been done. Looking pretty good up front!
This past weekend was a long one, thanks to Veteran’s Day. Saturday was a busy day for a number of reasons (more on that below) and my office was closed Monday, so we were able to get quite a lot accomplished in a fairly short amount of time.
Story time: Friday night was spent doing a little grocery shopping and getting ready for my mom’s surprise party the following night. She specifically requested no party, but it was her 50th – we HAD to! So, Friday night was prep night. Saturday, it was my job to keep her distracted from my dad and sister while they put the pieces together and got everybody rounded up. I find the best way to distract anybody is to have them haul stones for most of the day..
Get to work.
Anyway, the party was a success and the birthday girl was REALLY surprised, so that was a lot of fun. Mom and Dad have both helped me out a lot over the last year and half (..or 25, but who’s counting) so it was nice to be able to do a little something for her.
The day after the party was pretty much a lost cause. I did do a little laundry and a couple dishes, but it was mostly a day of recovery from Saturday’s festivities. I hadn’t over-indulged as much as some, but I had hauled enough of that rock to have difficulty climbing stairs! Basically anything from my butt cheeks down was feeling the burn from all of our landscaping.
This was the process: string line, spade for trenching, gloves for moving stones. woof..
I rolled the stones back out of the trench and lined it with landscaping fabric to (hopefully) keep weeds from popping through.
I'll fill this with mulch - it's going to look so good! :)
I couldn't believe how far the stone went! I thought for sure I'd run out before we got everything done, but we actually had a few little pieces left over. That's good living.
Monday saw more work inside as the temperature dropped – that meant finishing up some of the baseboard and random trim pieces that hadn’t been done before, filling holes, and touch-up painting. This detail work takes a little longer, but makes such a big difference when it’s done!
I had to have my (new) drywall patched to account for the new windows being slightly smaller than the old ones.
I also put in a special order for these grilles to give the look of divided panes - I think it makes the house look better AND is more in keeping with the details in the old pictures I was given. 
Testing out my grilles....ignore the painters tape :)
We also trimmed out the front door and finished up the baseboard in the solarium. I'm always amazed how FINISHED that baseboard makes everything look!

Thursday, September 20, 2012

Well, isn't that special.

Did you notice the small window above the bay windows in my previous post? Here it is! It was given to me by the previous owners - they felt it should stay with the house....and I feel it should be a part OF the house, again!
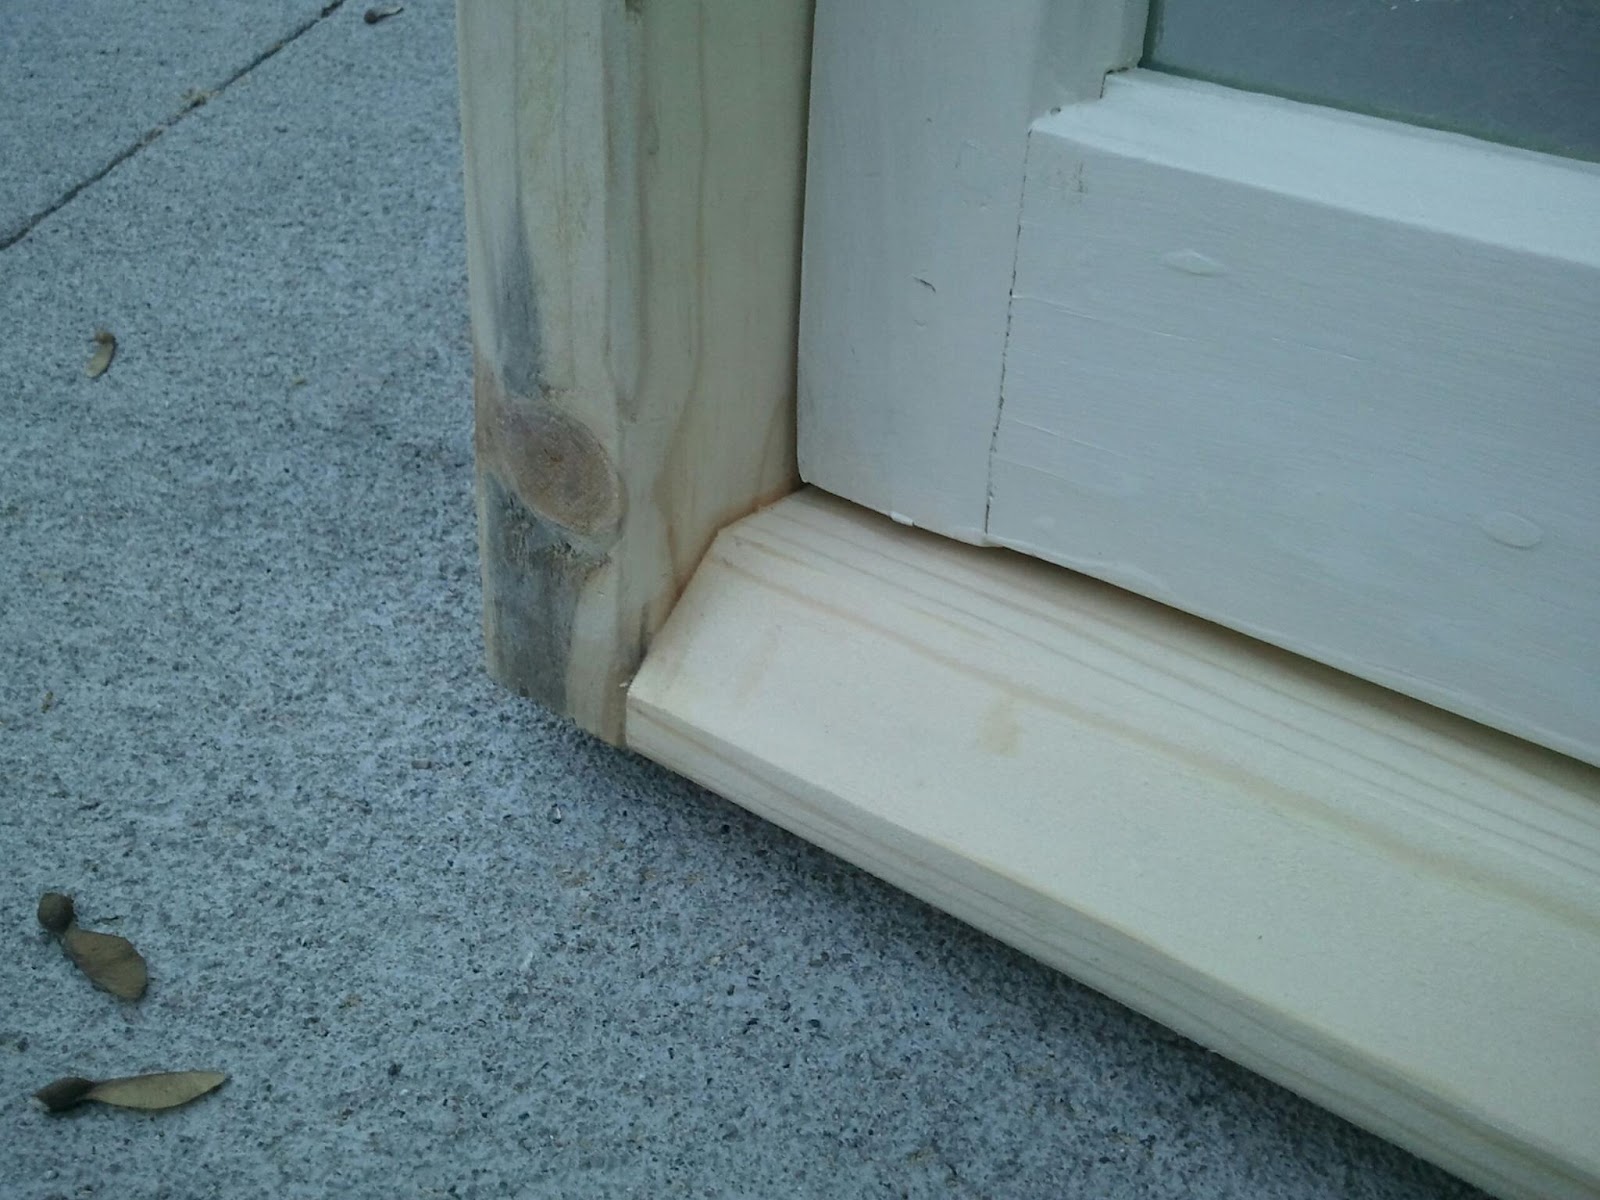
Last night's quick project was building a frame for the window so I can hang it in place..when we get to that point.
I'm not totally finished yet, but I might be about as far as I CAN be for the moment. I still need to cut a few small strips to hold the sash in place. I angled the bottom here so it would shed water..in theory. Check back for more updates soon!

Monday, August 27, 2012

Paint, paint, paint....and ice cream :)

Friday over my lunch break, I decided to go have a gallon of paint mixed up for testing purposes. I can’t decide on a paint color based on a two inch square, so I buy samples and throw them up on the walls in various spots to see how I like the color and how it reacts to light at different times of day. I did this inside, but now we’re getting close to outside paint time…so here we go..
The exterior trim will be the same off-white/cream color as my interior trim.
The doors will be shiny black to match the inside as well.
Worried isn’t the right word, but I was..concerned about the color I wanted to paint my exterior siding. I have been thinking about grays for a long time and wanted something a little darker. Gray, to me, is hard because it can tint several different colors while still being gray. Since my roof is a pretty specific color, I wanted to make sure my siding wasn’t going to have a purple, pink, green, or blueish tint to it…I just want gray.
I used a little cutting from a piece of paper my friend Brooke had – I took that to the hardware store, and they matched it exactly using their computer system. I then painted a couple sample spots around the house making sure I hit all four sides and any area that had a different exposure to the sun.
I finally ordered the rest of the siding for the front of the house! More to come..
I know I like the color. It’s definitely gray..no tint. I’m just not sure it’s THE color I want. Maybe just a hair too dark? The only reason I say that is because of the color of the shingles – I think the house might look too monolithic if the siding matches the roof that closely. Thoughts?
I'm thinking a lighter gray color for the garage door - what do you think?
Thursday night, I was clearing the garden and making things look a little better there when I decided I should probably harvest some of my basil for pesto to store in the freezer. When I lived at home with my former “roommates,” my mom-roommate and I would do this. I’ve seen a lot of people online freezing pesto in ice cube trays – when you need some, pop one out and go – and that’s really handy. I don’t have a spare tray at the moment, so I just use a little plastic container. This way I can have garden-fresh pesto all year long!
I had also read about people making ice cream with one ingredient. Apparently if you went to summer camp you know what this is about. For me, however, it was mind blowing..so I had to try it.
The one ingredient is banana. You cut up a couple ripe bananas into medium-sized chunks and freeze them solid. Then, throw the frozen chunks into the food processor and you’ve got ice cream!
I was skeptical initially, but damnit if it doesn’t work. And damnit if it wasn’t AWESOME! There’s enough fat in the banana to give it a smooth consistency, and the flavor is great – truly authentic banana flavor. I’m not even crazy about banana flavor, but this was great!
Three bananas were enough for two modest size servings. I ate the first right away and saved the second in the freezer to see how it would store…would it turn black overnight if it had already been pureed? No need for worry: I’m happy to report, it was just as good the next day!

Tuesday, November 1, 2011

Fast times..

What a weekend!

Not only do we have power restored to the house (LIGHTS!!), but we have more or less finished hanging sheetrock throughout the house, have trimmed out the exterior of the new windows, removed the remainder of the west chimney, had a new furnace/AC/water heater installed, restarted soffit work, and laid the groundwork for hanging siding. Oh! I also bought more cement board for the kitchen and laundry areas as well as decided on exterior lights and a bathroom sink and faucet.

As I said, the drywall is hung (with the exception of the living room ceiling), but we’re waiting on the contractor to come mud, tape, and texture. Timeline on that is another 2 - 2.5 weeks, so, in the meantime, we’re working on the outside before the weather turns nasty. On rainy days, we’ll rip up the carpet, sand the hardwood floors, and plop the carpet back down again to protect the floor from drywall splatters and stilts. I can refinish those later..I'm just hoping to get the dusty projects out of the way all once!
Also in the meantime, we can lay the cement board in the kitchen and laundry room – this acts as a sturdy base for the tile. We’ve already done this in the bathroom, but hadn’t done the rest because we weren’t totally sure what the footprint of the rooms would be. Now that the major demolition is done and we’re putting things back together, we can feel confident knowing where this stuff will go!
The exterior trim was pretty exciting for me.. it’s another reminder that I might actually get to live here one day! That, and the fact that I’m excited about the product itself: the trim around the windows and doors is a PVC product just like the pipes you might use when plumbing your house. This stuff comes in a variety of profiles and designs, and the real beauty of it is that there should be minimal maintenance going forward. Because it’s plastic, it can’t rot and it looks like the old trim might have – double win!
The west chimney has been coming down for the last two weeks or so. As we find the motivation, we go around back and smack at the bricks for a while. Well, over the weekend, dad and I took the sledge and a wheel barrow and finished her off J I have saved the old bricks because there is repair work to be done on the front steps, but I’d also like to use them in something else. Maybe next year..
I was able to pull the chimney down instead of tuck pointing it because the insulated pipe inside was no longer needed. My 1980’s furnace has been replaced with a new, high efficiency model and I’ve installed an electric water heater so there’s no need for a vent. Not to mention, I get more rebates now J
A side project I’ve been working on is the interior doors. When I bought the house, none of the doors matched each other. I don’t know if you know this about me, but I’m just obsessive-compulsive enough that this would bother me. Well, I was lucky enough to be able to sweet talk the neighbors into letting us salvage the old doors from their house before it gets demolished. Now every interior door in the house is the same..and my OCD remains fully intact.
After taking measurements and deciding which doors we could use, I set about sanding, priming, and painting them. I don’t know about you, but I’ve seen lots of magazines and blogs lately featuring people with these glossy black doors. I don’t know what it is about them, but I just think they look kind of…sexy? So, I thought I’d give it a try. If it works, I’ll have the sexiest doors in town..if it doesn’t, I’ll repaint them another color and life will go on. The only issue I anticipate would be the bathroom: it’s a smaller space without windows, and the dark doors might overwhelm it. Otherwise, everything else should be bright enough that they work just fine. Stay tuned!
I’ll post pictures of all of this very soon. At this point in time, I don’t even have any – pretty lame, right?
Happy Tuesday!