Wednesday, January 25, 2012

Setting the Scene - as of last night

Doors in the kitchen! The (pocket) door on the left leads to the bathroom, and the door on the right leads to my bedroom.
Behind Door Number One: More doors! And trim..
...and more trim..
Behind Door Number Two: The bathroom! My mirror still has its cardboard protection, but I figure that's probably for the best right now!
Out in the living room, the bay window has been scraped and sanded down..getting ready for a fresh coat of paint.
Speaking of paint, the fireplace is looking brighter these days! This is just the primer coat..I still haven't totally decided on a color yet.. More to come!

Tuesday, January 24, 2012

Buried!

I have been swamped lately! There are lots of things happening at work (which is good), lots of things happening at the house (which is great), and generally too much to think about (which is bogging down my mental capacities). This is a blog entry, but it’s also a bit of a purge. Here it goes..
We’ve accomplished so much in such a short amount of time. It’s really amazing to watch everything come together.
All the electrical head-scratchers have been worked out regarding three-way dimmers and whatnot, and the house looks amazing! Especially at night..It’s going to be a cool party house J More on that later.

Sconces on the vanity wall in the bathroom. There's a big mirror between them now - pictures to follow. 
The floor sanding went well and I used three coats of water based satin polyurethane to get the color and sheen I was looking for. It’s actually a bit shinier than I had in mind, but I really like it and I know it will hold up to stains and scratches much better than what I had thought. There are imperfections here and there, but I’m leaving them in place because I think they add a ton of character. The house is nearly 150 years old, after all.
A good view of the floors in the dining room. Chairs from PierOne thanks to my sister's discounts! :)
The big project lately has been hanging doors and figuring out how to trim them. I believe I mentioned a while back that all the doors in my house have been “saved” (wink) from the house next door that’s slated for demolition. While this also adds lots of character, it adds its own set of challenges. When these doors were installed, they were made to fit. That means some of the doors have been hand-planed on the edges here or there to account for a floor that was out of level or a door jamb that was out of plumb. Since only two of the interior doors in my house will actually hang on jambs we had a little bit of room to play. The “jamb doors” in my house needed to fit, obviously; the rest will be cut down slightly to fit the openings created for pocket doors. Now all my doors will match – OCD intact. J  
I put second and third coats of paint on several of the doors last night. Hopefully they’ll be dry enough to work with this evening when we attempt our pocket door and closet bypass door installations.
The other thing that will match is the trim throughout the house. Luckily the house next door also had the same decorative trim over the doors and windows as mine. We “salvaged” quite a bit of that and Dad/Roommate and I have planed and sanded everything down to bare wood. Now every opening should have the thick old moldings that the front/original portion of my house had and the later additions lacked. Since the trim will be painted anyway, I’ll be buying new wood for baseboard so all the woodwork matches all the way through the house. 
The bathroom vanity being put to good use...
Odds and ends, too:
·         Something to do with the refrigerator quit working, so I called in the Home Warranty company and had that fixed. Highly recommend the Home Warranty.
·         We’ve brought the washer and dryer back in to their rightful places and even did a test load of shop towels to make sure everything was still working there.
·         The dining room table came home! This is still so amazing to me: we found this wood in the attic space of the old garage and The Genius planed it down and made probably the coolest table ever. He copied the design from Restoration Hardware’s online catalogue and it looks amazing in the room. I’m really looking forward to having people over for dinner now! 
Dining room table with some of the chairs. It's the perfect size...and just plain cool.

·         Mom/Roommate primed the brick on the fireplace and got it ready for painting. I’m not totally sure what color it will be yet, but the living room is so much brighter with the bay window open and the dark brown brick primed a bright, clean white.
·         Dad/Roommate and I hung the closet organizer in the master bedroom closet. It’s pretty straightforward, but I don’t need anything fancy.
Closet organizer in the master bedroom. Lots of room for lots of shirts!
Oh! Speaking of this being a cool party house.. I was at the Brewery downtown a couple weeks back and they had a great band from Des Moines playing called the River Monks. The whole evening was themed around this Monk idea: they were featuring a Dopplebock from a brewery in Des Moines; the author who subjected himself to the 46 day Dopplebock beer fast (as touted by the Paulaner monks of Neudeck ob der Au in Munich for its nutrient/mineral content) was on hand to sign books and talk to us beer geeks; and the aforementioned River Monks were playing their brand of folky, minimalist pub music – it really made for a fun evening.
Anyway, I met up with a couple of the band members after their set and asked, half-joking/half-serious, if they’d play my house-warming party when they returned from their tour at the end of March. They were actually really excited about it, and I think I will set them up in the entryway J Dim the lights, chill the drinks, sit back and enjoy the night with some great music.

Anyway, I think that’s about it for now. My head feels significantly lighter now that I’ve gotten some of this out. Thanks for reading J

Tuesday, January 3, 2012

Floor sander, why do you hate me?

Well, the disc-style sander (You know, the one that looked like a floor waxer?) was horrible! Which was really frustrating because so many people had used it successfully and even recommended it. My only guess is that there was some kind of finish on the floor that just didn’t agree with the sandpaper. With the age of the floors, it’s possible there were several layers of finish that didn’t agree with the sandpaper, but oh well. The roommates and I tried our best and stayed late into the night, but our results didn’t come close to matching our efforts.
Another option might have been a chemical stripper – this would have taken the finish(es) and gone about its business. Stripping the floor also would have “saved” the wood, because every time you sand a floor you take away a little bit.. sometimes up to ¼” per sanding. I didn’t like the idea of using a stripper, though. The chemicals are harsh and generally not good for you. Not to mention, cleaning up the stripper is sometimes, itself, a pretty big task.
So, just shy of driving off to the carpet store and scrapping the whole idea, we decided to try a different style sander from a different store. This sander was the older-style belt sander that I’ve heard so many horror stories about (“It’s too fast!” “It gouges the floor!” “It’s so dusty you can’t see!”), but I wanted something that would kick the floor’s ass and this thing did it. Not only was it aggressive enough with the finish, it wasn’t as bad as everyone said. You did have to hang onto it, but it wouldn’t drag you behind it like in the horror stories; it would really only gouge the floor if you weren’t paying attention or if you hit a spot that was significantly higher than another; and this model had a vacuum attachment like the other, so the dust was minimal. We had the floors completely sanded in a day! The better part of a day, but a day nonetheless. There are a few spots I’d like to hit with a finish sander, but all in all, we’re in good shape.
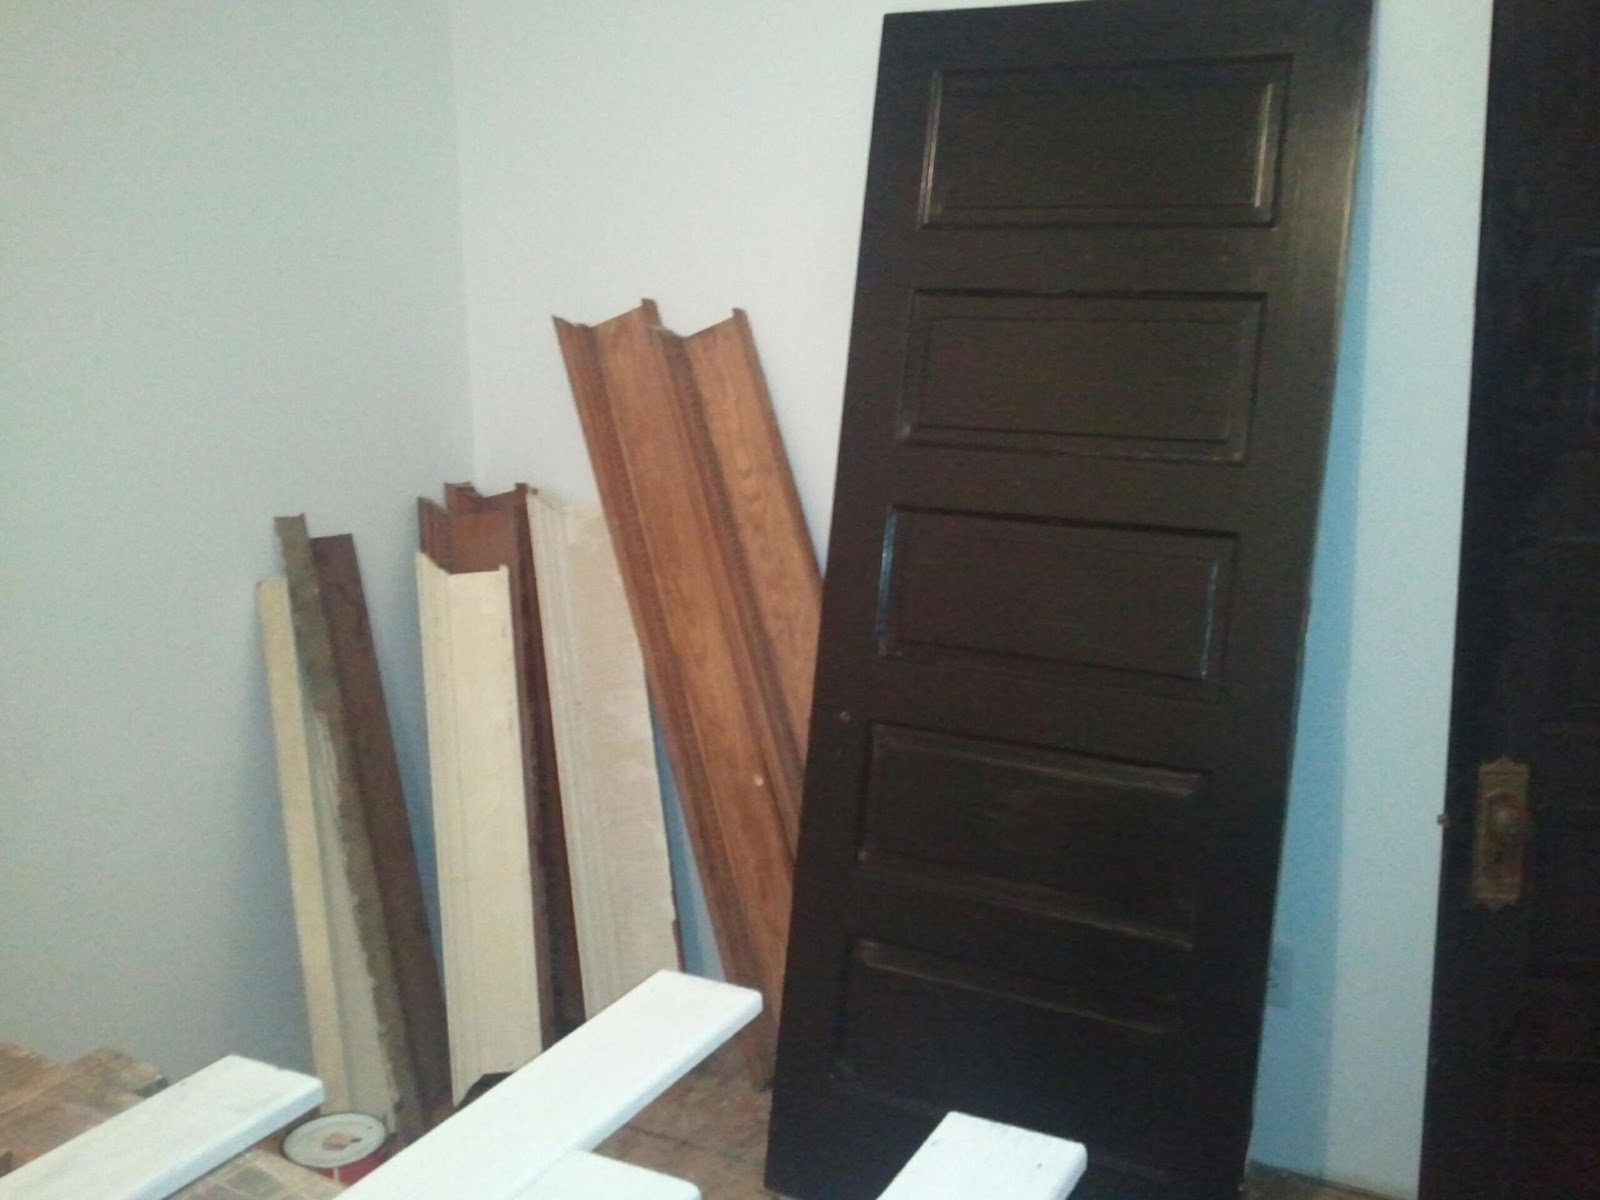
Wood floors in the living room. Leaning toward leaving them a lighter color - any thoughts?
There was also an edge tool that would take care of the area closest to the walls, door openings, or registers where the larger sander couldn’t reach. Everyone pretty much agreed that, while it did the job, it was just too heavy to use for any length of time. We’ve loaded up a handheld belt sander with the appropriate grit and it seems to take care of the edges without too much of a problem.
The other thing our “licensed electrician” (wink) has been working on is light fixtures! There are quite a few of them..or at least it seems that way when your arms are above your head all afternoon. Some of them installed without much of a problem, and some did not. Because the ones we are currently working on came from IKEA, many of them didn’t come with all the parts we need to hang them properly. So, you take the good with the bad with IKEA – super affordable, nice design, never have all the parts J
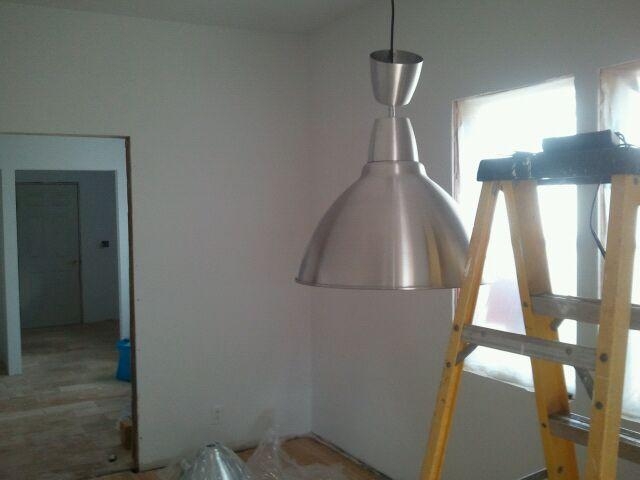
Close, but no cigar. We need all the parts, IKEA!
With the lights, we’re working on installing the rest of the outlets and switches. The outlets aren’t presenting a problem.. the fact that I’d like to have dimmer switches is. Especially where there are three way switches. If anyone has any ideas about this, feel free to chime in and I’ll pass it along!
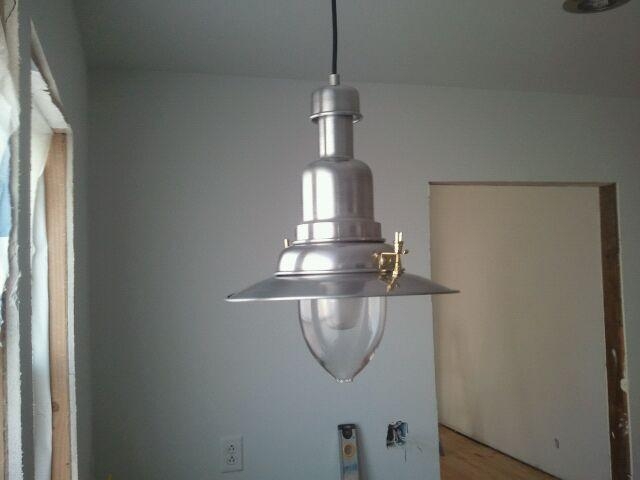
Pendant over the kitchen sink.
Progress, progress! Every day!

Holy bathroom, Batman!

That wonderful, wonderful tile.
Because the tile was down, grouted, and sealed, we got to actually put stuff back IN to the house these last few days! It started with a toilet (for the sake of necessity, we decided that would be nice to have), then we worked on the bathtub, and finally set the vanity in place. 
This was a big milestone for me. Don't laugh.
Everything went smoothly with the toilet. The vanity is interesting because we used an old work table I bought at a flea market, retrofitted it with the vessel sink and faucet, and set about the business of hooking up water lines and drain pipes through the wall.
Vanity, assembled, waiting for installation in the dining room.
The real job yesterday was the bathtub. It still had an old faucet and drain attached; the faucet came quietly.. the drain needed more persuasion (read: a saw). Once those were taken care of, I scrubbed the porcelain with a light scour pad and some diluted CLR to cut through a few rust stains. To my surprise, this method also took care of a few scuffs, staining, and other discolorations.  I’ve read, though, that you don’t want to get too carried away with this type of chemical – or even bleach, for that matter – as it eats away at the finish glaze. Once I had everything more or less cleaned, we could rubber mallet the feet into a secure place. We found that if you just slid them in by hand, the feet fall out…usually while you’re standing in the tub.
The tub, hanging out waiting for us.
The faucet wasn’t horribly difficult to affix to the tub. No doubt installation was made easier by the fact that the tub was out in the middle of the room and not right up next to the wall. If you don’t have the ability to move the tub, find a friend with skinny forearms and a working knowledge of pipe fitting. J We then lugged the tub over near the drain pipe sticking out of the floor so that we could get an idea about how long to cut the drain kit; because I had to buy a claw foot tub, there is a special drain kit that goes along with it. One drain serves as the primary, the other as an overflow. Once this was cut and we were fairly sure it would fit into place, we maneuvered the tub into position and dropped it down into place. Considering we were unintentionally dropping everything else all day, the tub moving went really smoothly.
After tightening all the connections and making a few adjustments…
Now if only my water heater had been lit..
There were only two small drips, but they were fixable without undoing everything and moving the tub out again. We then took a little break from tub work to set the vanity.
Earlier in the afternoon, the Goddamn Genius and I mocked up where the faucet and sink would go on the worktable/vanity. With those measurements, he was able to cut holes for both the faucet and its workings and the drain. A bead of silicone adhesive keeps the sink in place, and the faucet attached easily with a few screws to anchor it to the underside of the wood top. After letting that setup for a few hours, it was moved into position and the wall holes were drilled for the water lines and drain.
After having our vanity fun, we decided to get greedy and check one more thing off the list: the shower attachment!
I knew going into it that this had pain-in-the-ass potential, but in the end it really wasn’t that bad. It is absolutely not a job for one person. Two is probably also a stretch. We had four sets of hands on deck, and we had it knocked out in about 10 minutes, not including assembly. For added stability, we’re working on finding (or making) more anchors for the side wall. I can see myself whipping the shower curtain open some morning when I’m awake too early and ripping the whole thing out of the ceiling. Not good.

Ta-Dah! I am hot water and a shower curtain away from using this old gal :)
So, I have a bathroom now! It’s weird seeing all this stuff I’ve bought and collected come together. Between that and the painted walls in the bathroom, this place is starting to feel like someone could live here soon! It’s been a long haul, but there is definite light at the end of the tunnel – a lot of people have helped me get to this point, so I should probably start getting my ducks in a row for the “Thanks-for-your-help” party (read: parties) to come!